Why use schedules
Manual testing is great for ad-hoc exploration, but it doesn’t scale. With schedules, you can:- Catch regressions early: Automated daily checks help you spot issues introduced by recent deployments before they impact users.
- Ensure consistent coverage: Regular testing means no area of your app goes unchecked for too long.
- Save time: Set it once and let Scout do the work. Focus your energy on building features, not running tests.
- Get notified automatically: Receive email summaries after each scheduled run completes, so you can start your day knowing the state of your application.
Creating a schedule
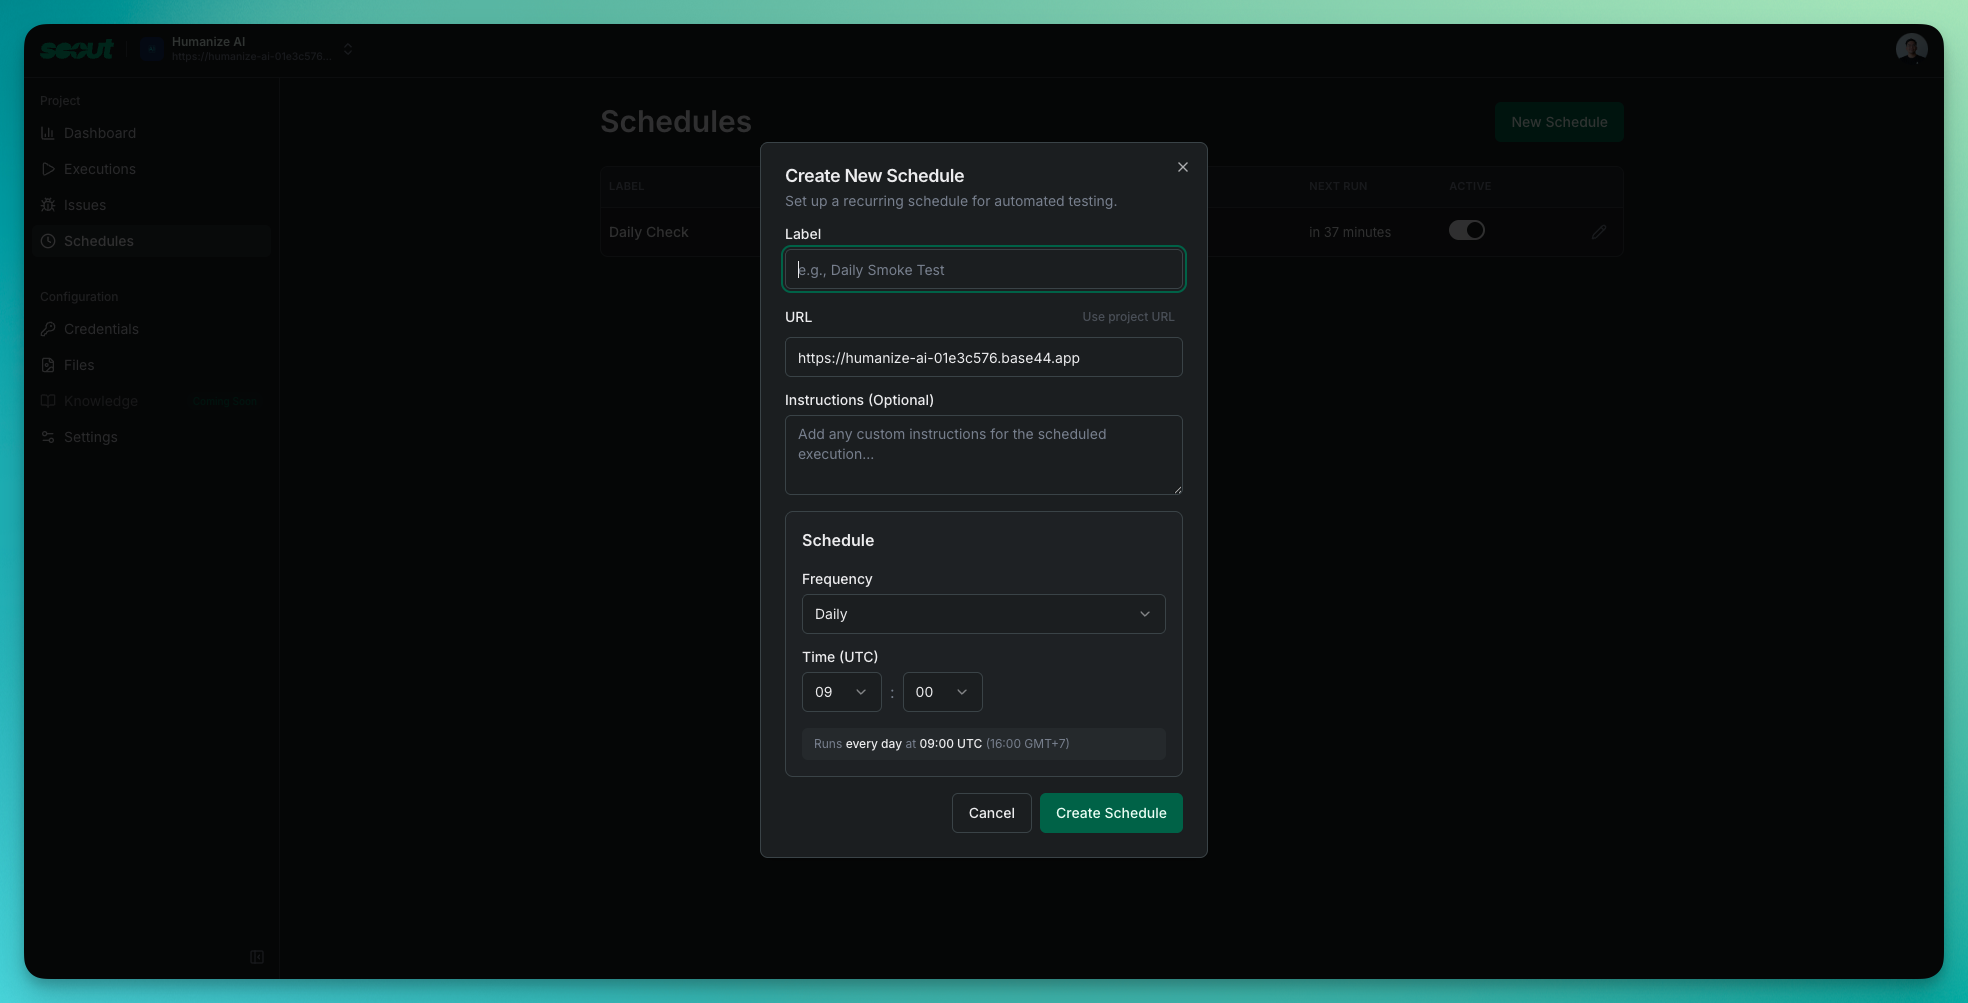
- Navigate to your project
- Click Schedules in the sidebar
- Click New Schedule
- Fill in the schedule details:
- Label: A descriptive name for this schedule (e.g., “Daily Smoke Test”, “Weekly Regression Check”)
- URL: The starting URL for the test run. Click “Use project URL” to use your project’s default URL.
- Instructions (optional): Any specific instructions for Scout during this scheduled run (e.g., “Focus on the checkout flow”, “Test the new dashboard feature”)
- Configure the schedule timing:
- Frequency: Choose between Daily or Weekly
- Time (UTC): Select when the test should run. The local time equivalent is shown for your convenience.
- For weekly schedules, select which days of the week to run
- Click Create Schedule
Managing schedules
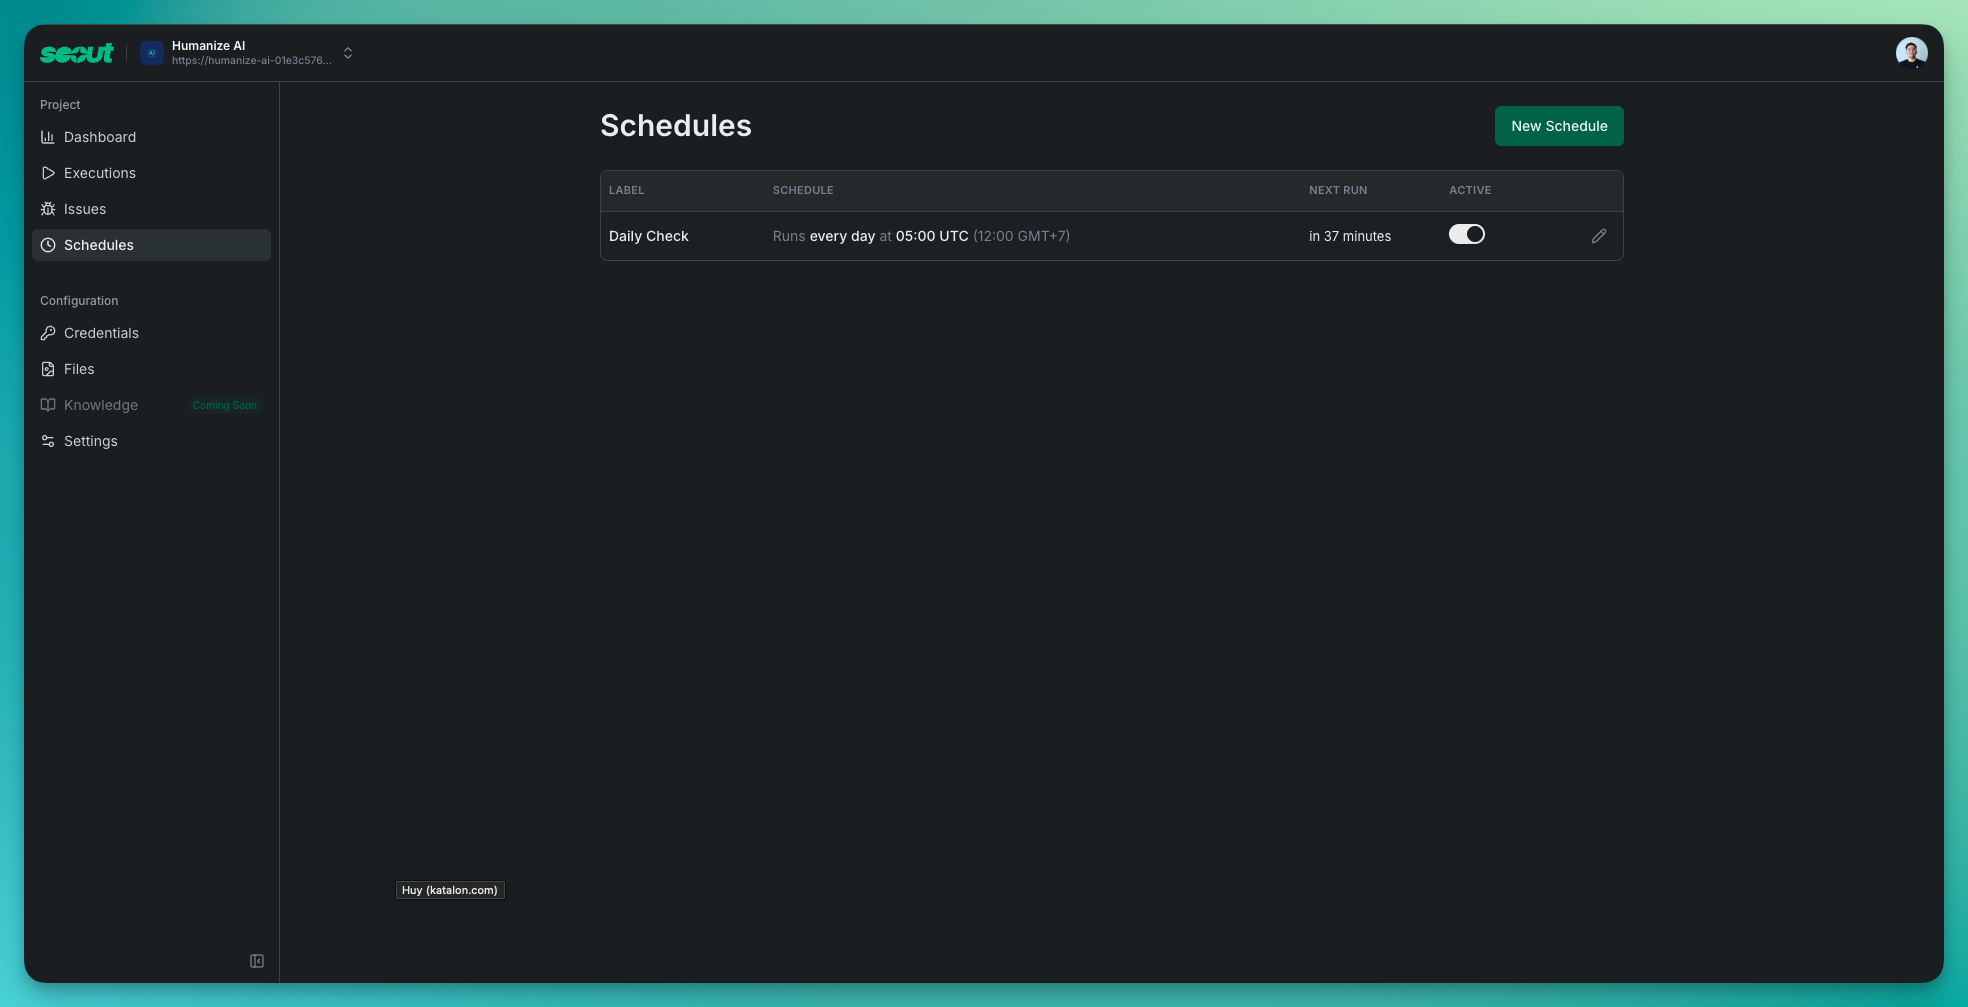
- Label: The name you gave the schedule
- Schedule: A human-readable description of when it runs (e.g., “Runs every day at 09:00 UTC”)
- Next Run: When the schedule will execute next
- Active: Toggle to pause or resume the schedule
Editing a schedule
Click the pencil icon next to any schedule to modify its settings. You can update:- The label and URL
- Custom instructions
- Frequency and timing
Pausing and resuming
Use the Active toggle to temporarily pause a schedule without deleting it. This is useful when:- Your application is undergoing maintenance
- You’re deploying major changes and want to pause automated tests
- You need to temporarily reduce test frequency
Deleting a schedule
To remove a schedule entirely, edit the schedule and look for the delete option. Deleted schedules cannot be recovered.Schedule timing
Frequency options
Daily
Runs every day at your specified time. Ideal for smoke tests and catching daily regressions.
Weekly
Runs on selected days of the week. Choose one or more days for more comprehensive but less frequent testing.
Time zones
All schedule times are configured in UTC to ensure consistent execution regardless of daylight saving changes or team location. The interface shows the equivalent time in your local timezone for convenience.If your local time shows “+1 day” or “-1 day”, it means the UTC time falls on a different calendar day in your timezone.
Email notifications
After each scheduled test run completes, Scout automatically sends an email summary to your account.
- Execution summary: Start time, duration, and completion status
- Issues found: Total number of issues discovered during the test run
- Top issues: A quick preview of the most important issues with their severity levels (High, Medium, Low)
- Quick actions: Direct links to review and fix issues, run another test, or share results with your team
- View Full Execution: One-click access to the complete execution details
Best practices
Start with daily smoke tests
Start with daily smoke tests
Begin with a single daily schedule targeting your most critical user flows. Once you’re comfortable with the results, expand to additional schedules or weekly deep dives.
Use descriptive labels
Use descriptive labels
Name your schedules clearly so anyone on your team understands what each one does. For example: “Daily - Homepage & Login”, “Weekly - Full E2E Regression”.
Add focused instructions
Add focused instructions
Use the Instructions field to guide Scout toward specific areas or behaviors. This is especially useful for weekly schedules where you want more targeted testing.
Stagger multiple schedules
Stagger multiple schedules
If you have several schedules, set them to run at different times to avoid overwhelming your application and to spread out the review work.
Review results regularly
Review results regularly
Scheduled tests are only valuable if you act on the findings. Set aside time to review the email summaries and address discovered issues promptly.
Viewing scheduled run results
Results from scheduled runs appear in your project’s Executions list alongside manually triggered tests. Scheduled executions are indistinguishable from manual ones in terms of features—you get the same detailed timeline, chat history, screenshots, and issue tracking. To find scheduled runs:- Go to your project’s Executions page
- Look for executions that ran at your scheduled times
- Click any execution to view the full details
Each scheduled run counts toward your plan’s execution quota. Monitor your usage if you have multiple active schedules.